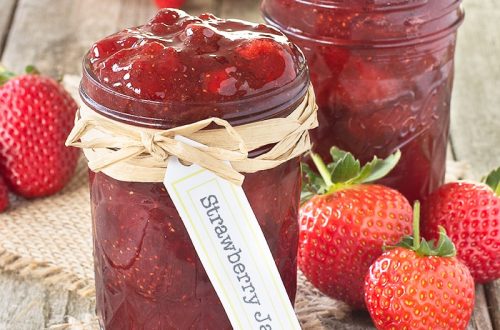
Three Steps to Make Your Own Blackberry Jam
If you want to make your own blackberry jam, there are a few steps you can take. You’ll need to start with the recipe. Then, test it and store it. Those three steps are the foundation for making jam at home. Hopefully, you’ll be able to complete this project with ease.
Recipe
This recipe for blackberry jam contains a lot of pectin, a natural substance found in many fruits and vegetables. Blackberries are particularly high in pectin, and they can be picked at various stages of ripeness. Choosing a berry that is not fully ripe will ensure that the jam contains the most pectin.
If you choose to can the jam, be sure to let it cool completely before canning. When it has cooled completely, you can check whether or not the jam is ready by running your finger through it or using a candy thermometer. If the jam is completely set, there shouldn’t be any runny or wrinkly edges. If the jam doesn’t set immediately, place it in the refrigerator. The jam will last up to a year if it is stored in a cool place.
The best time to use blackberries for making jam is when they are ripe but still slightly firm. Using over-ripe berries will cause the jam to lose pectin and will produce an unpleasant taste. When using fresh berries, they should be placed in a bowl of sugar and allowed to rest for several hours or overnight.

Test
The blackberry jam test is a way to determine whether a fruit preserve has the right consistency to make jam. The pectin content in blackberries varies, so you will need to check the pectin level of your berries. Wild blackberries, for example, have higher pectin content than store-bought varieties.
Once the berries are ripe and the sugar content is right for your recipe, you can proceed with the recipe. You can either use your finger to press a little piece of jam against a small plate or a candy thermometer to check the setting point. Once the jam reaches 105 degrees C, it has reached its setting point. If the jam has reached this point, leave it to cool for at least five minutes before canning.
Once the blackberries have reached the right setting point, you’ll need to use regular granulated sugar. Fresh lemon juice is also essential. The lemon will help the jam set. If you don’t have fresh lemon juice, use bottled lemon juice. It is more consistent in its pH level and is preferred by most jam makers. Alternatively, you can use lemon peel and pips. This will result in a softer jam.
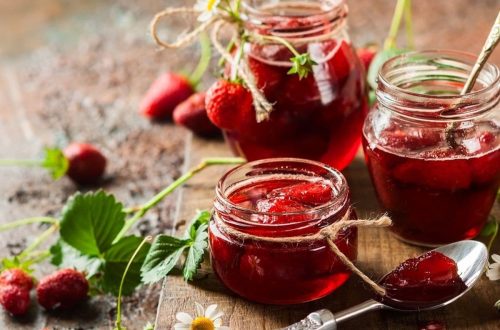
Storing
Blackberry jam is a wonderful treat that you can make yourself, and it keeps well for a year or more. The key is to use fresh blackberries. If the fruit is old, they will not have the pectin necessary to set the jam. You can add some sugar to the berries to make the jam set and sweeten them.
Blackberry jam will keep for a year or longer when stored in an airtight container in the refrigerator. You can also freeze the jam to keep it fresh. When canned, jam will keep for about 6 months. It will last up to a year, but you must make sure that you eat it within six months of making it. You can also make jam using frozen berries, or macerate the fruit in lemon juice before adding it to the pot. Lemon juice has varying acidity, so adjust accordingly to avoid spoiling the jam.
To ensure the freshness of your jam, you should pick the ripest blackberries possible. Jam that is overripe, soft, or bruised will lose its quality. You want to use high-quality fruit, and slightly under-ripe blackberries have more pectin and acid, which helps the jam set.


You May Also Like

How to Choose a Limo Service
Freezer Jam and Jelly Food